3D Printed Lights
When I bought a 3D printer I wasn't too sure what to use it for. Shortly after, I discovered a new hobby of making lights that are both practical and aesthetic, allowing me to put my creative design work on display. I manufacture the light shade and base to integrate with commonly available LED bulbs and sockets. I have experimented with many different types of lights including table lamps, pendant lights, and puck lights. Through testing, I developed textures that turned out beautifully while also creating designs for mass production. The models are made in Rhino using Grasshopper and printed on a Prusa Mini FDM 3D Printer. The material used is a translucent PETG plastic which delivers an organic aesthetic. Below you can find some final designs that I've come up with and look forward to possibly commercializing.
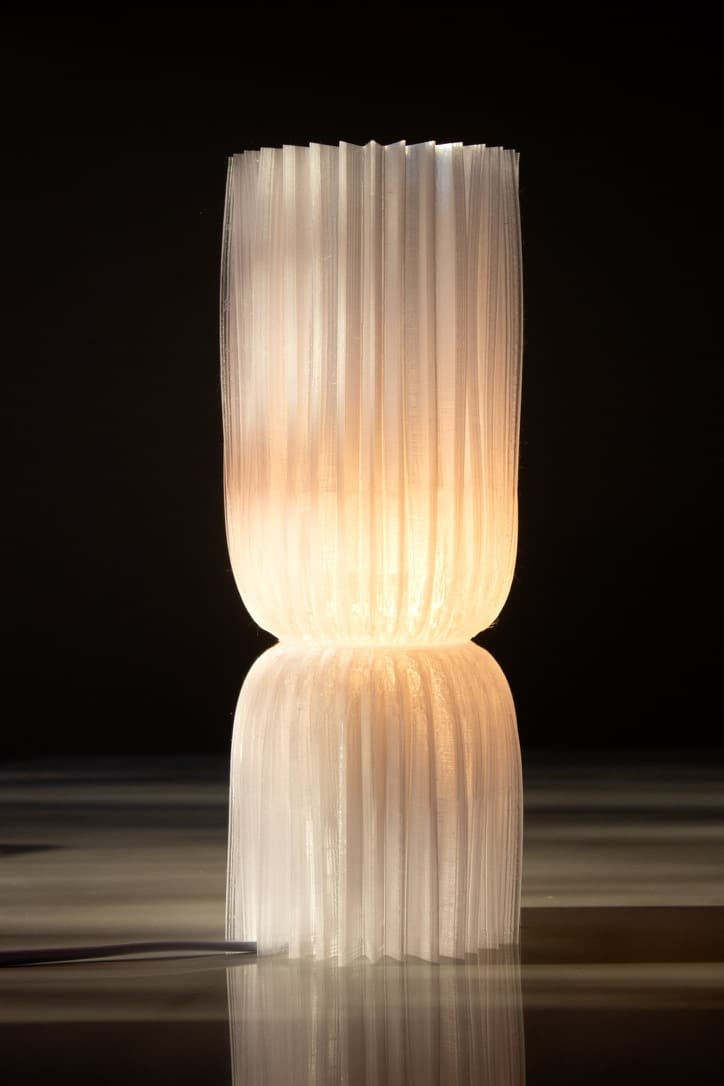
Glowform Table Lamp
First light that I 3D Printed!
- Shade is removable from the base and gets mounted using 2 guide pins
- Discrete opening at the bottom for the power cable to exit
- E26 LED bulb rests on a flange at the shade and base interface
- PETG Translucent Filament
- Diameter: 10cm, Height: 28cm
- Print Time: 16 hrs
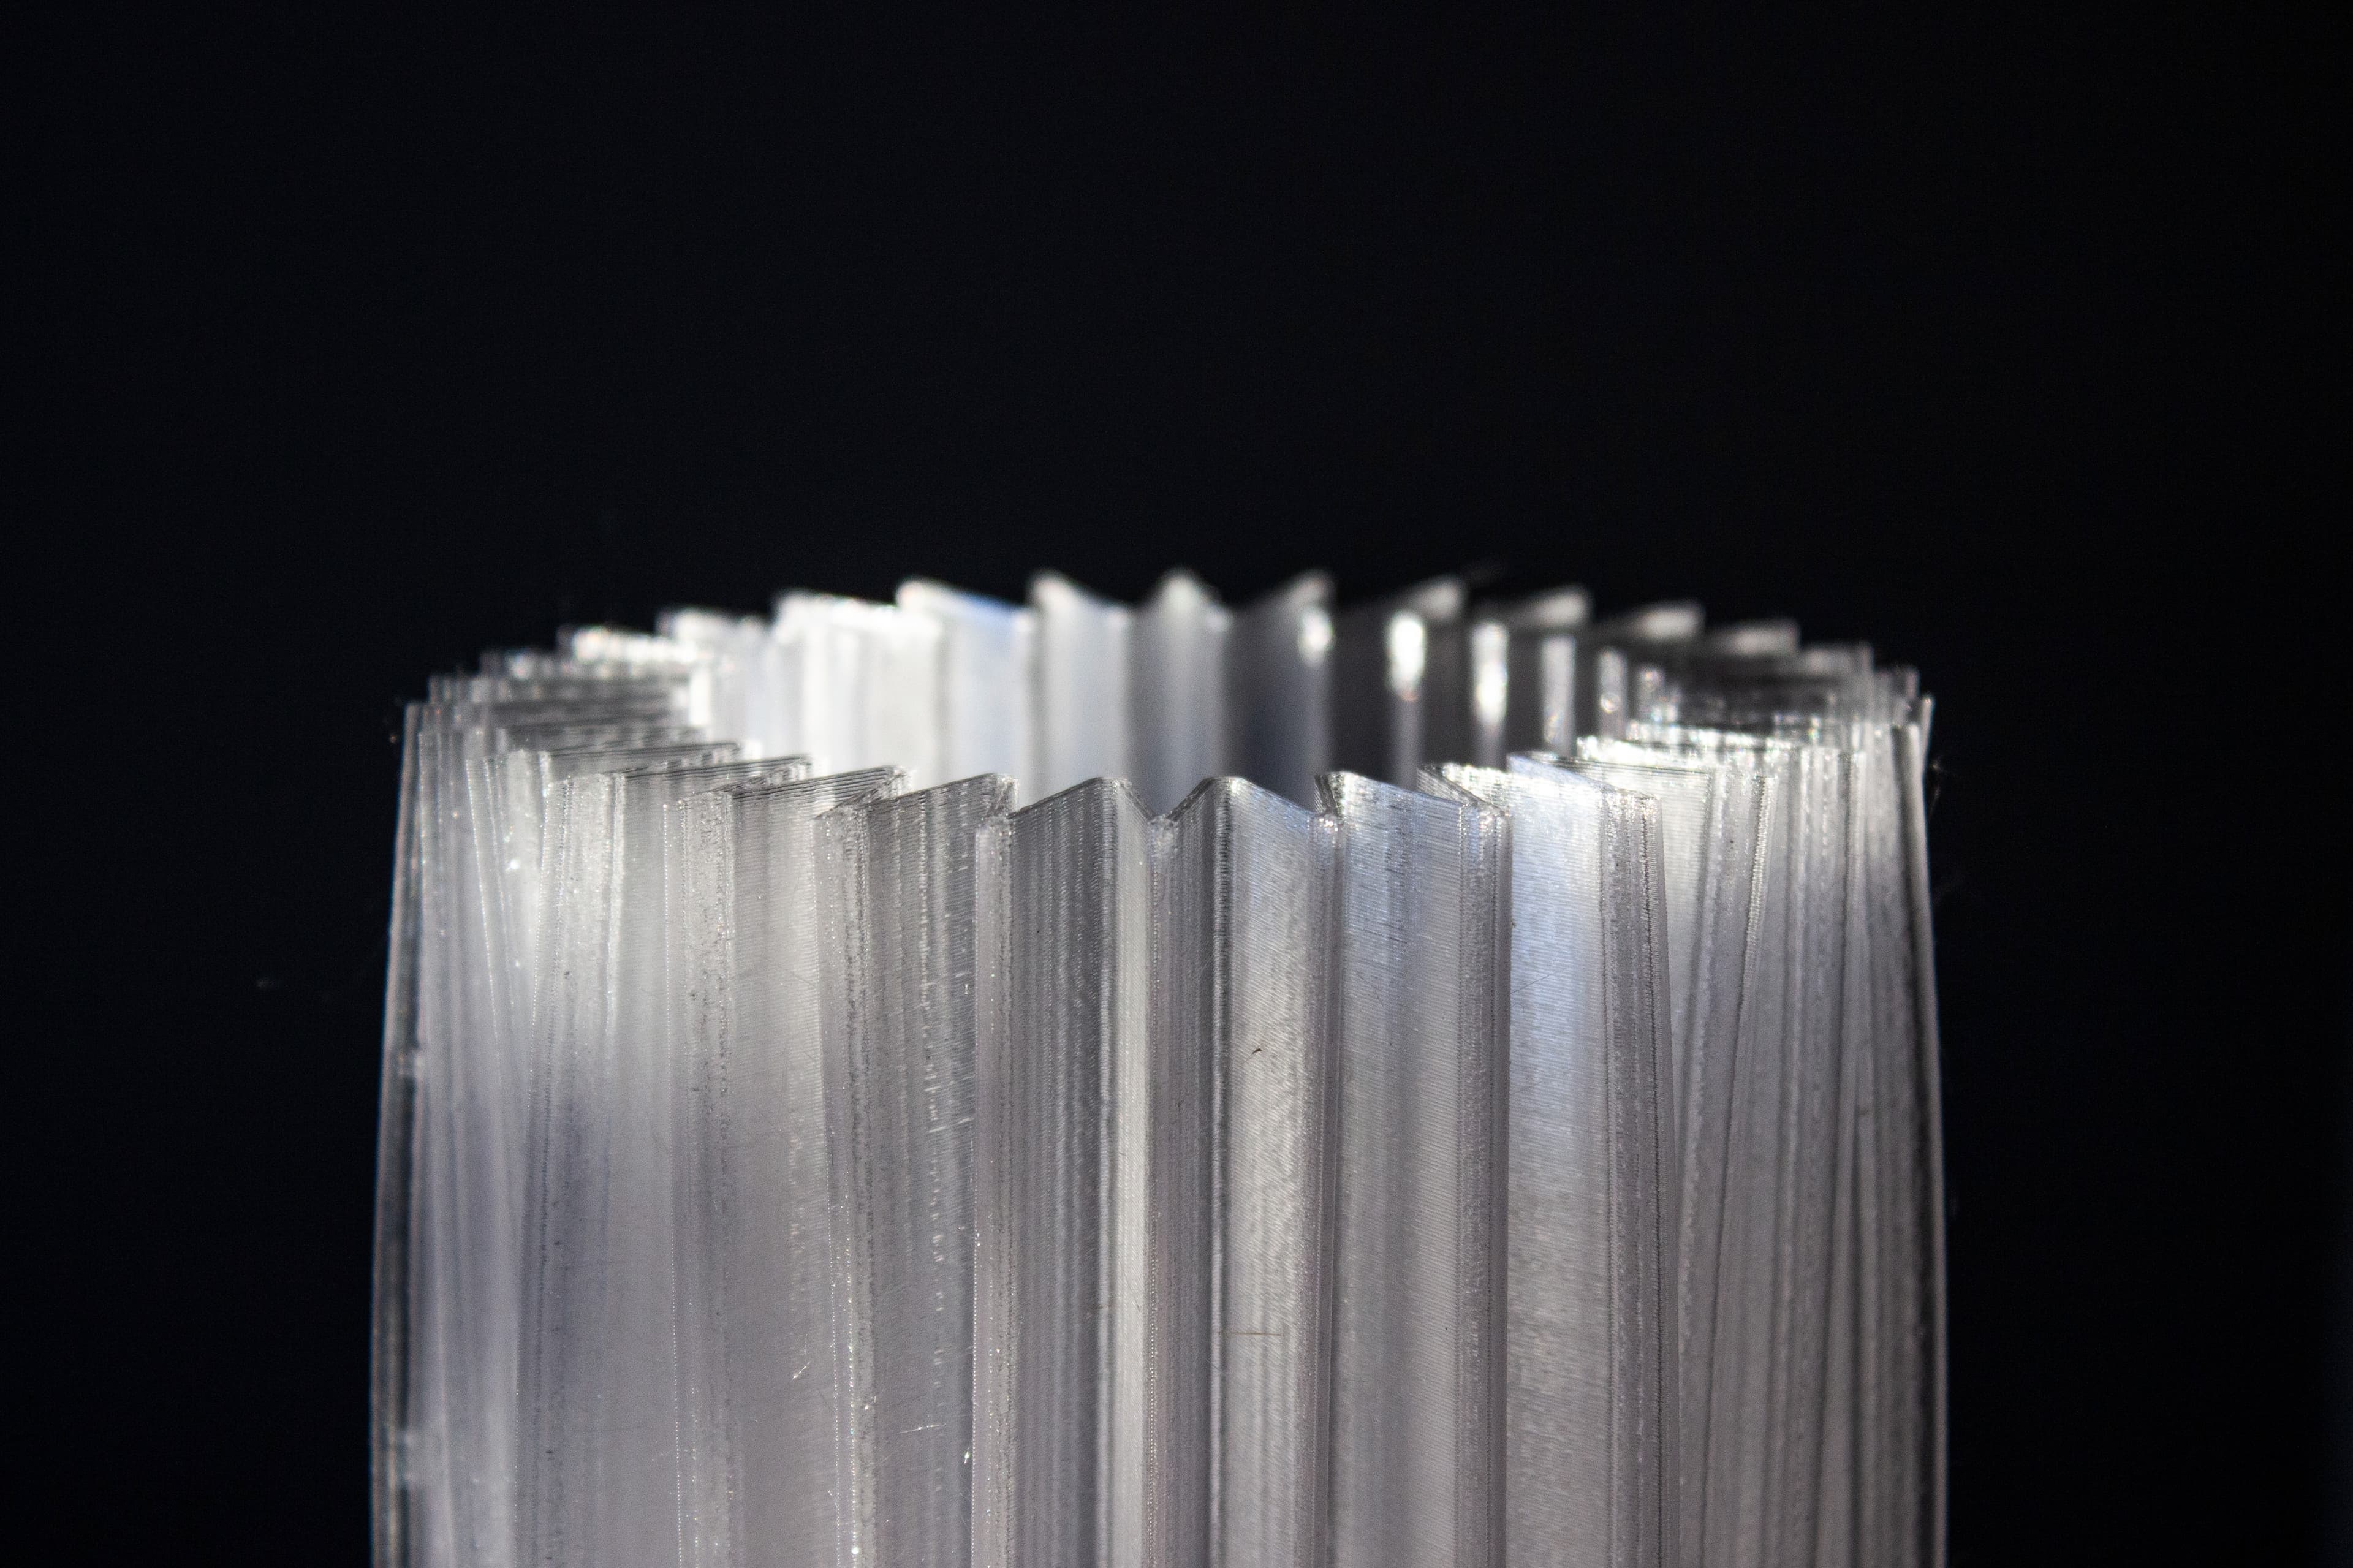
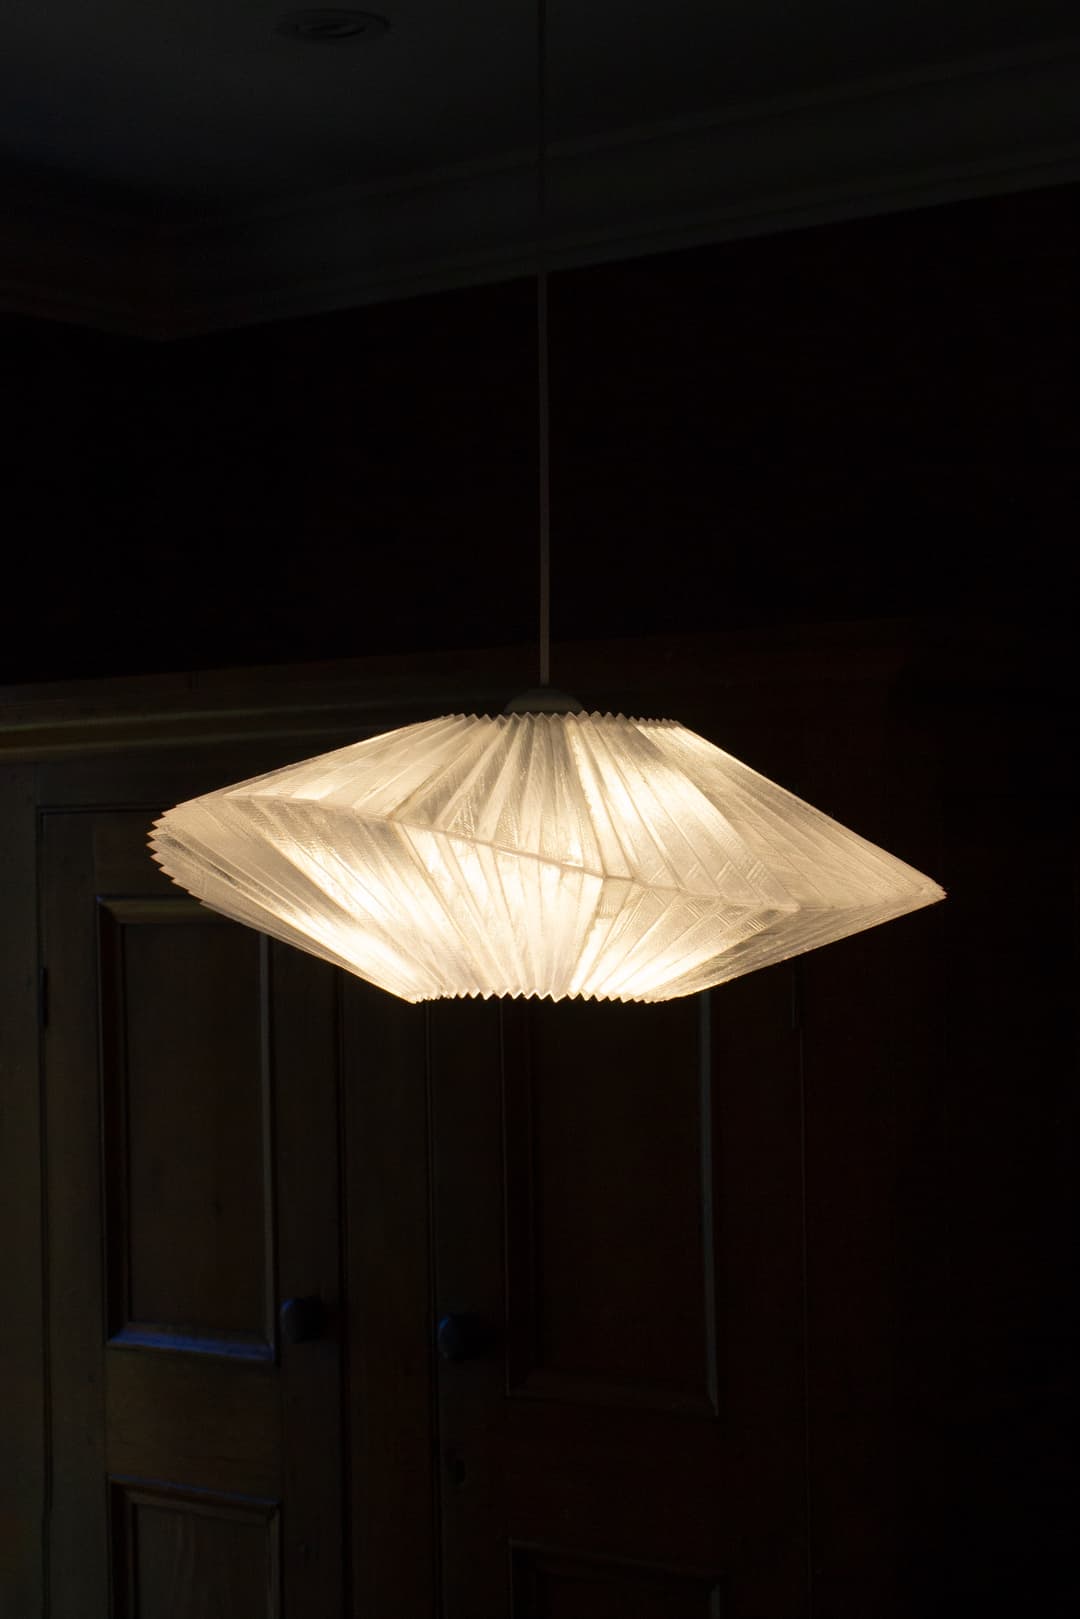
Twisting Halo Pendant Light
Next, I wanted to try a bigger design that could be the centerpiece of a room.
- Sharp texture that twists 360 degrees
- Composed of 12 separate pieces glued together
- Opening at the bottom to replace light bulb
- Diameter: 40.6cm, Height: 15.2cm
- PETG Translucent Filament
- Print Time: 60 hrs
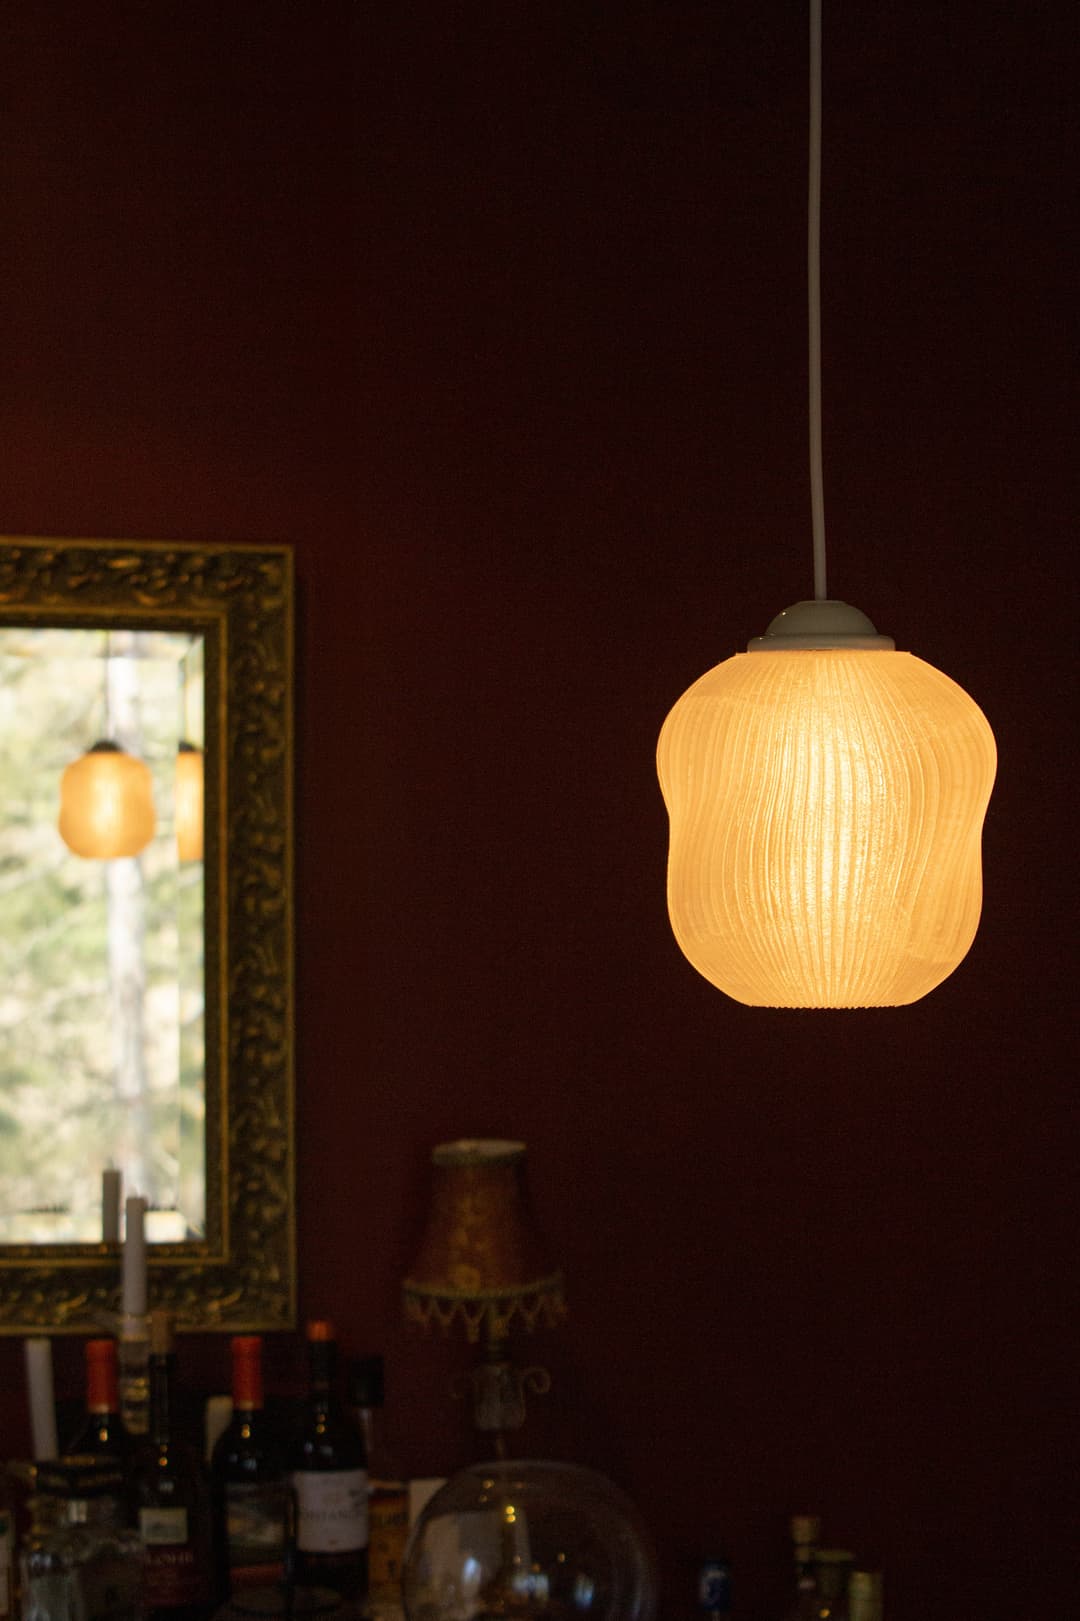
Glowdrop Pendant Light
Smaller pendant light that can be printed as a single part.
- Ripple texture that provides a smoother finish
- Contains a more subtle twist revealing an interesting pattern
- 1 single piece that can be easily attached to a common E26 light fixture
- Diameter: 17.3cm, Height: 15.9cm
- PETG Translucent Filament
- Print Time: 16 hrs
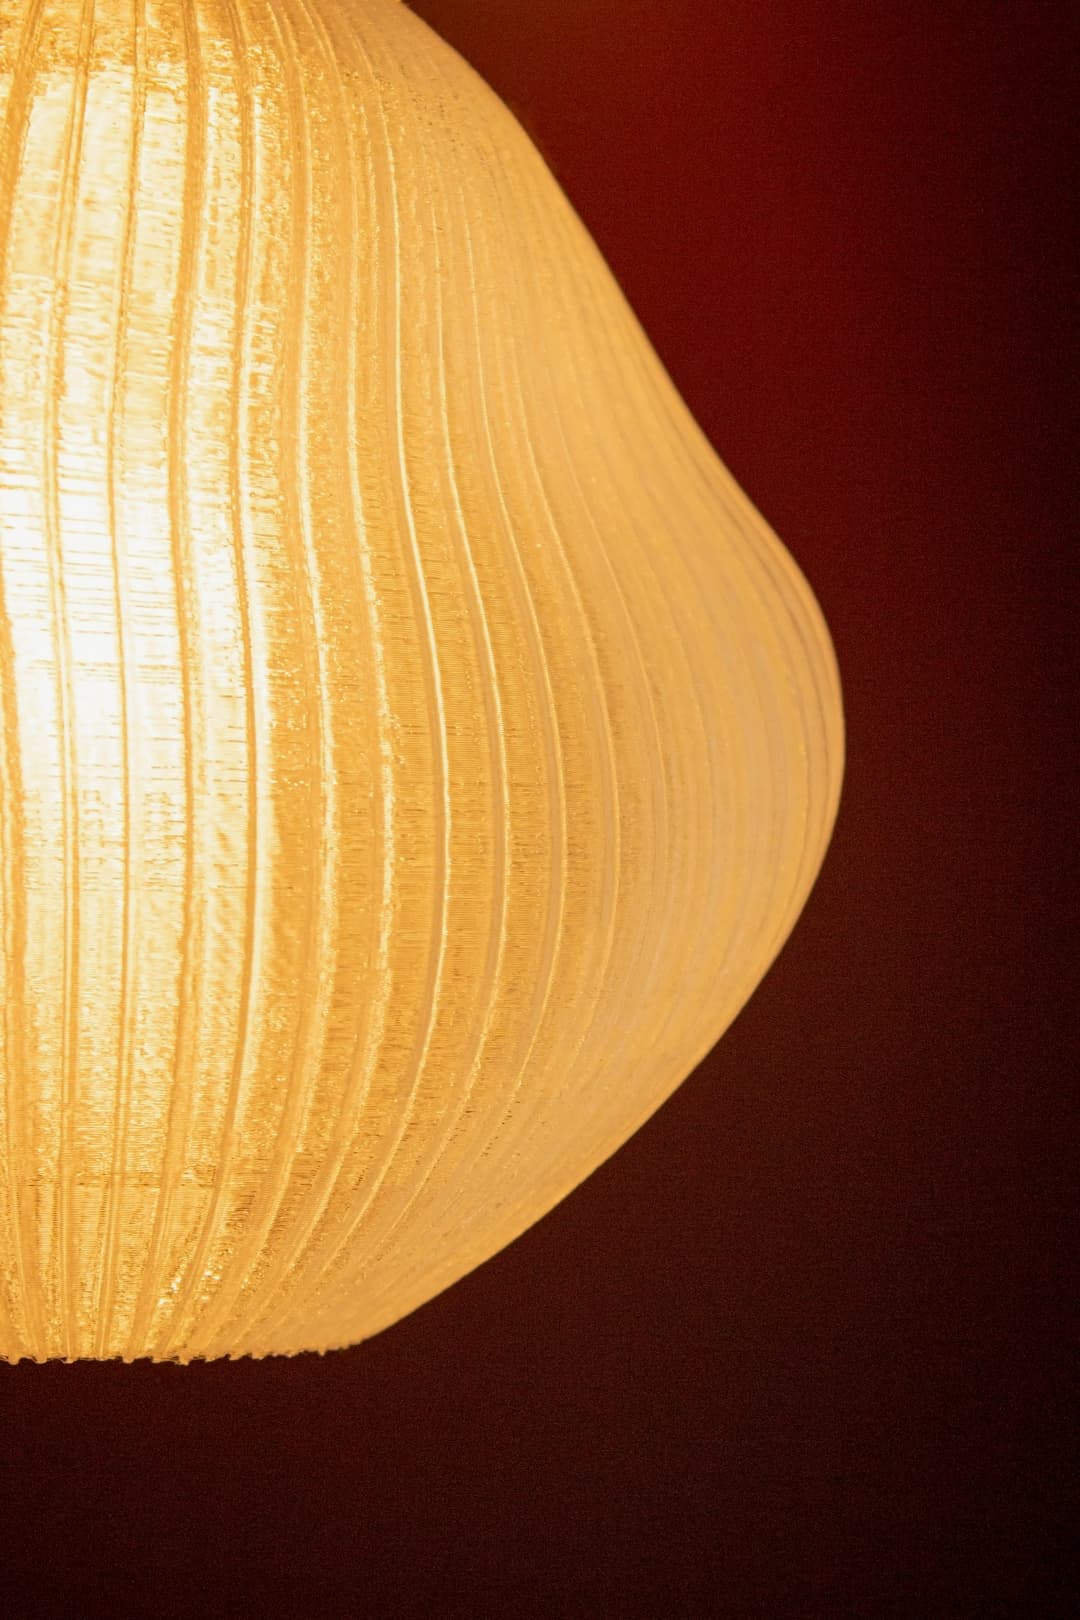
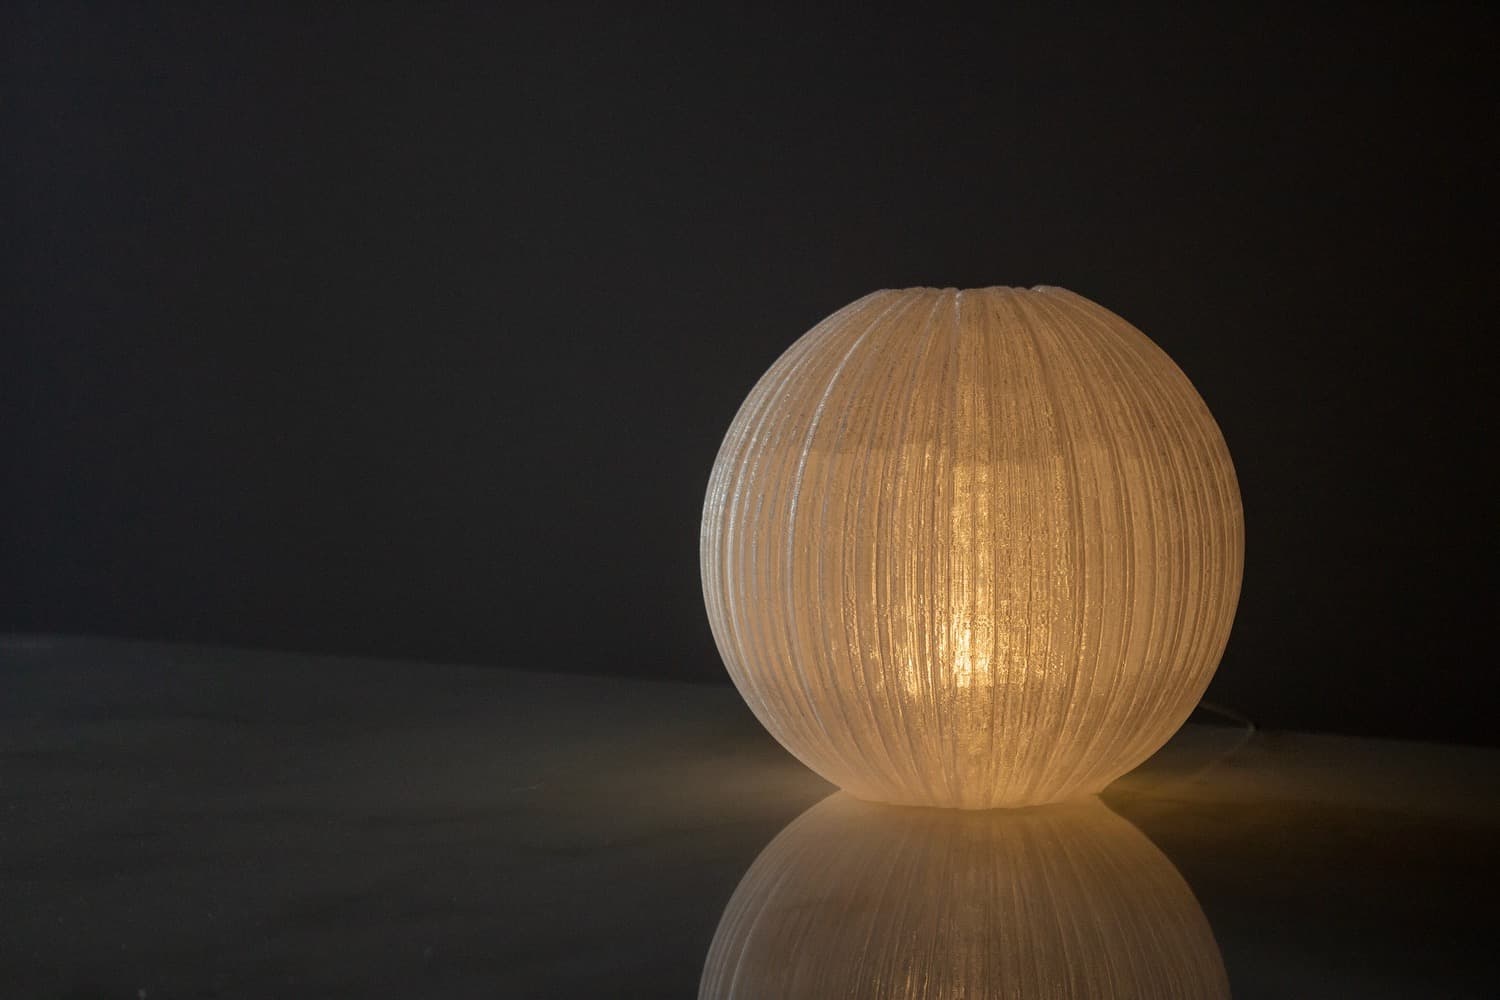
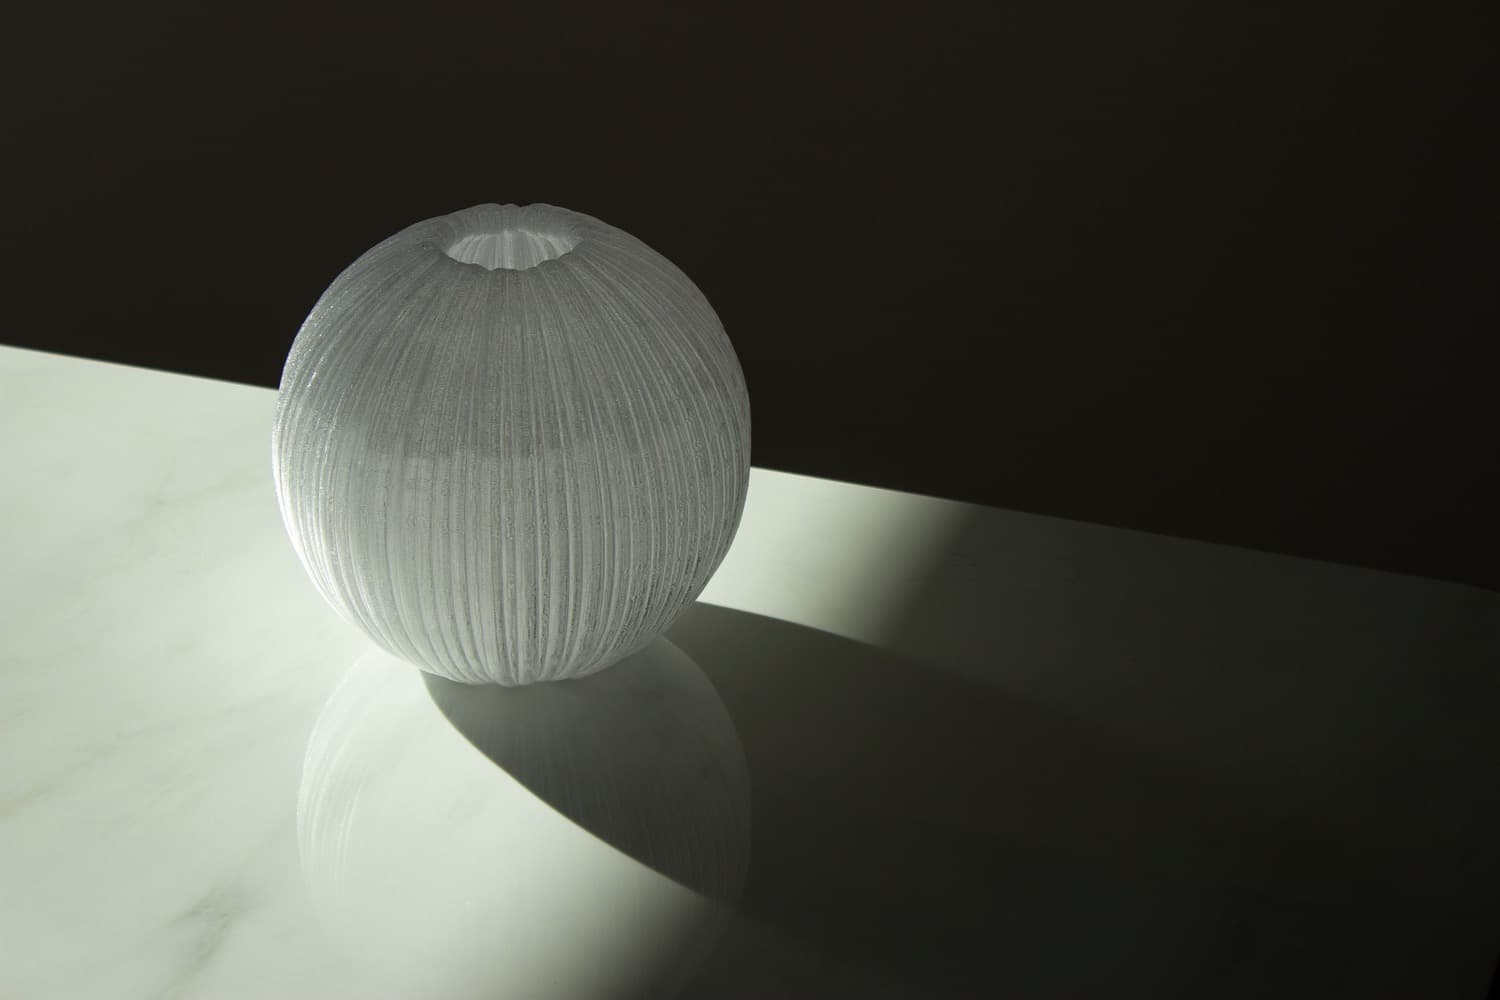
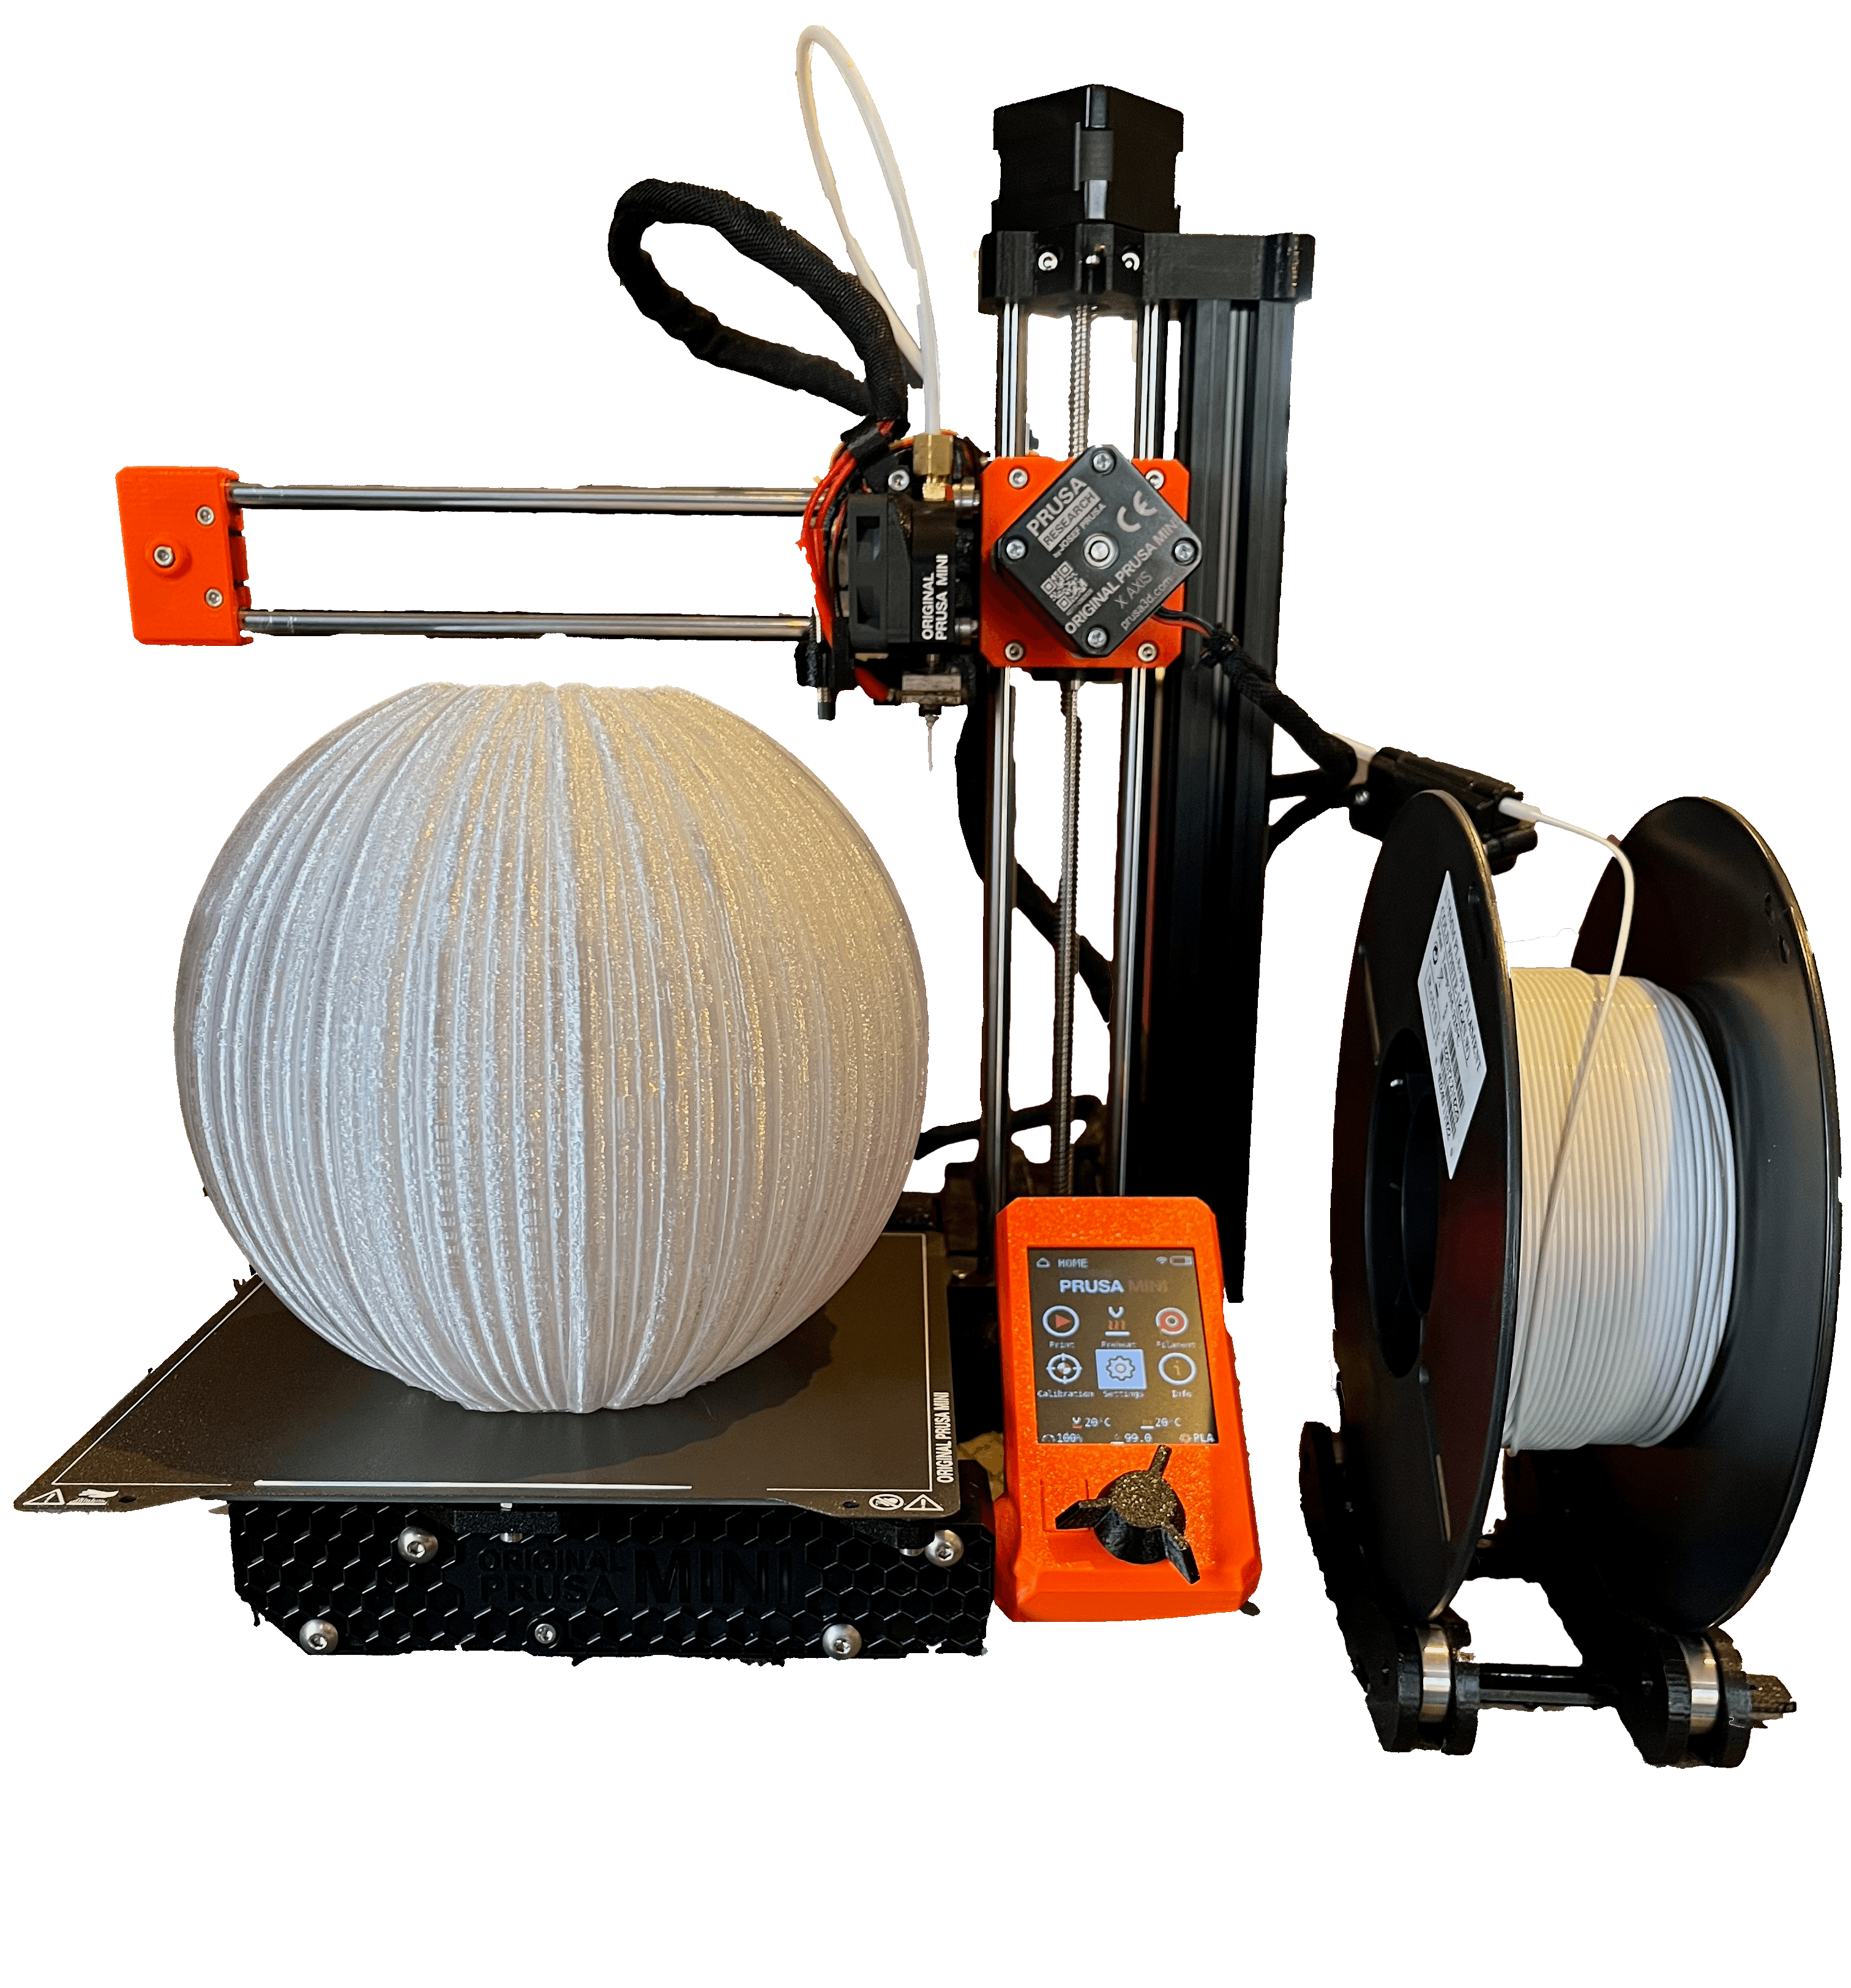
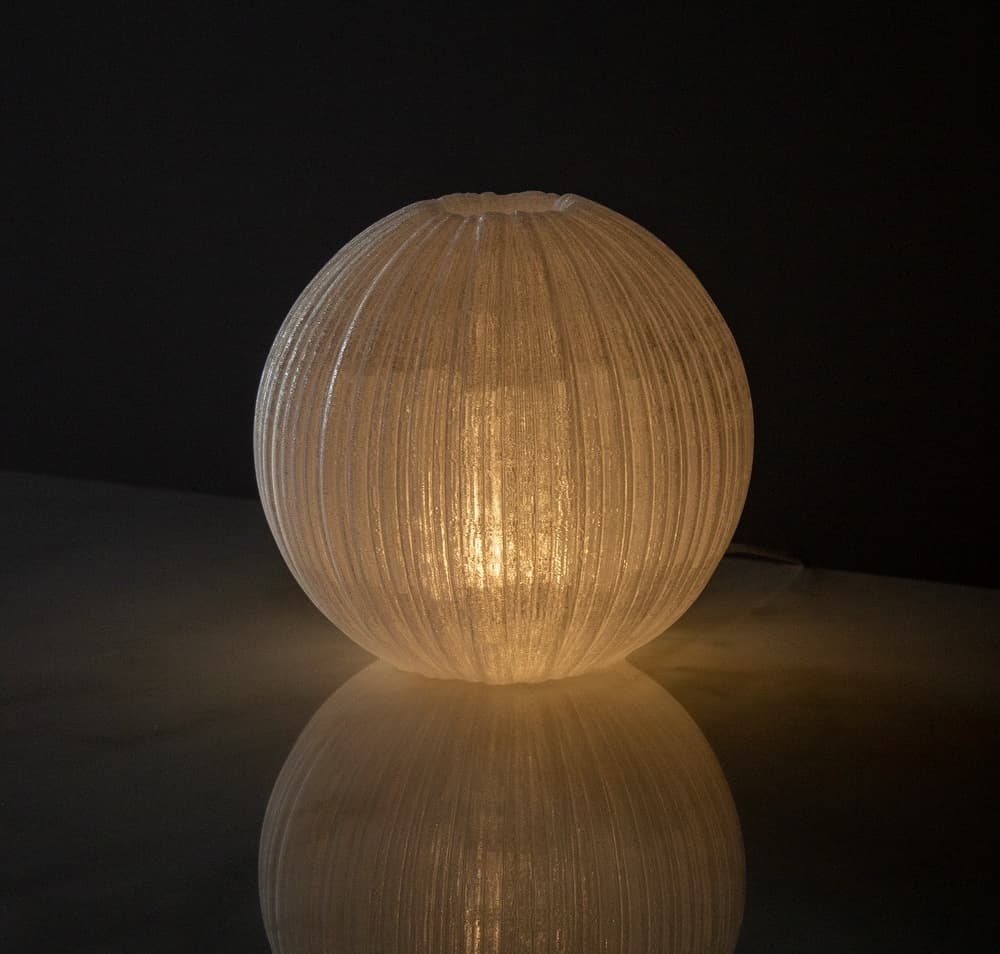
Orb Lamp
Smaller table lamp for a clean decorative aesthetic.
- Base integrates into the shade to look like a single part
- Varying undulations revealing a squash-like texture
- Base attaches to the shade using a light that has spring loaded tabs
- Diameter: 17cm, Height: 16cm
- PETG Translucent Filament
- Print Time: 9 hrs
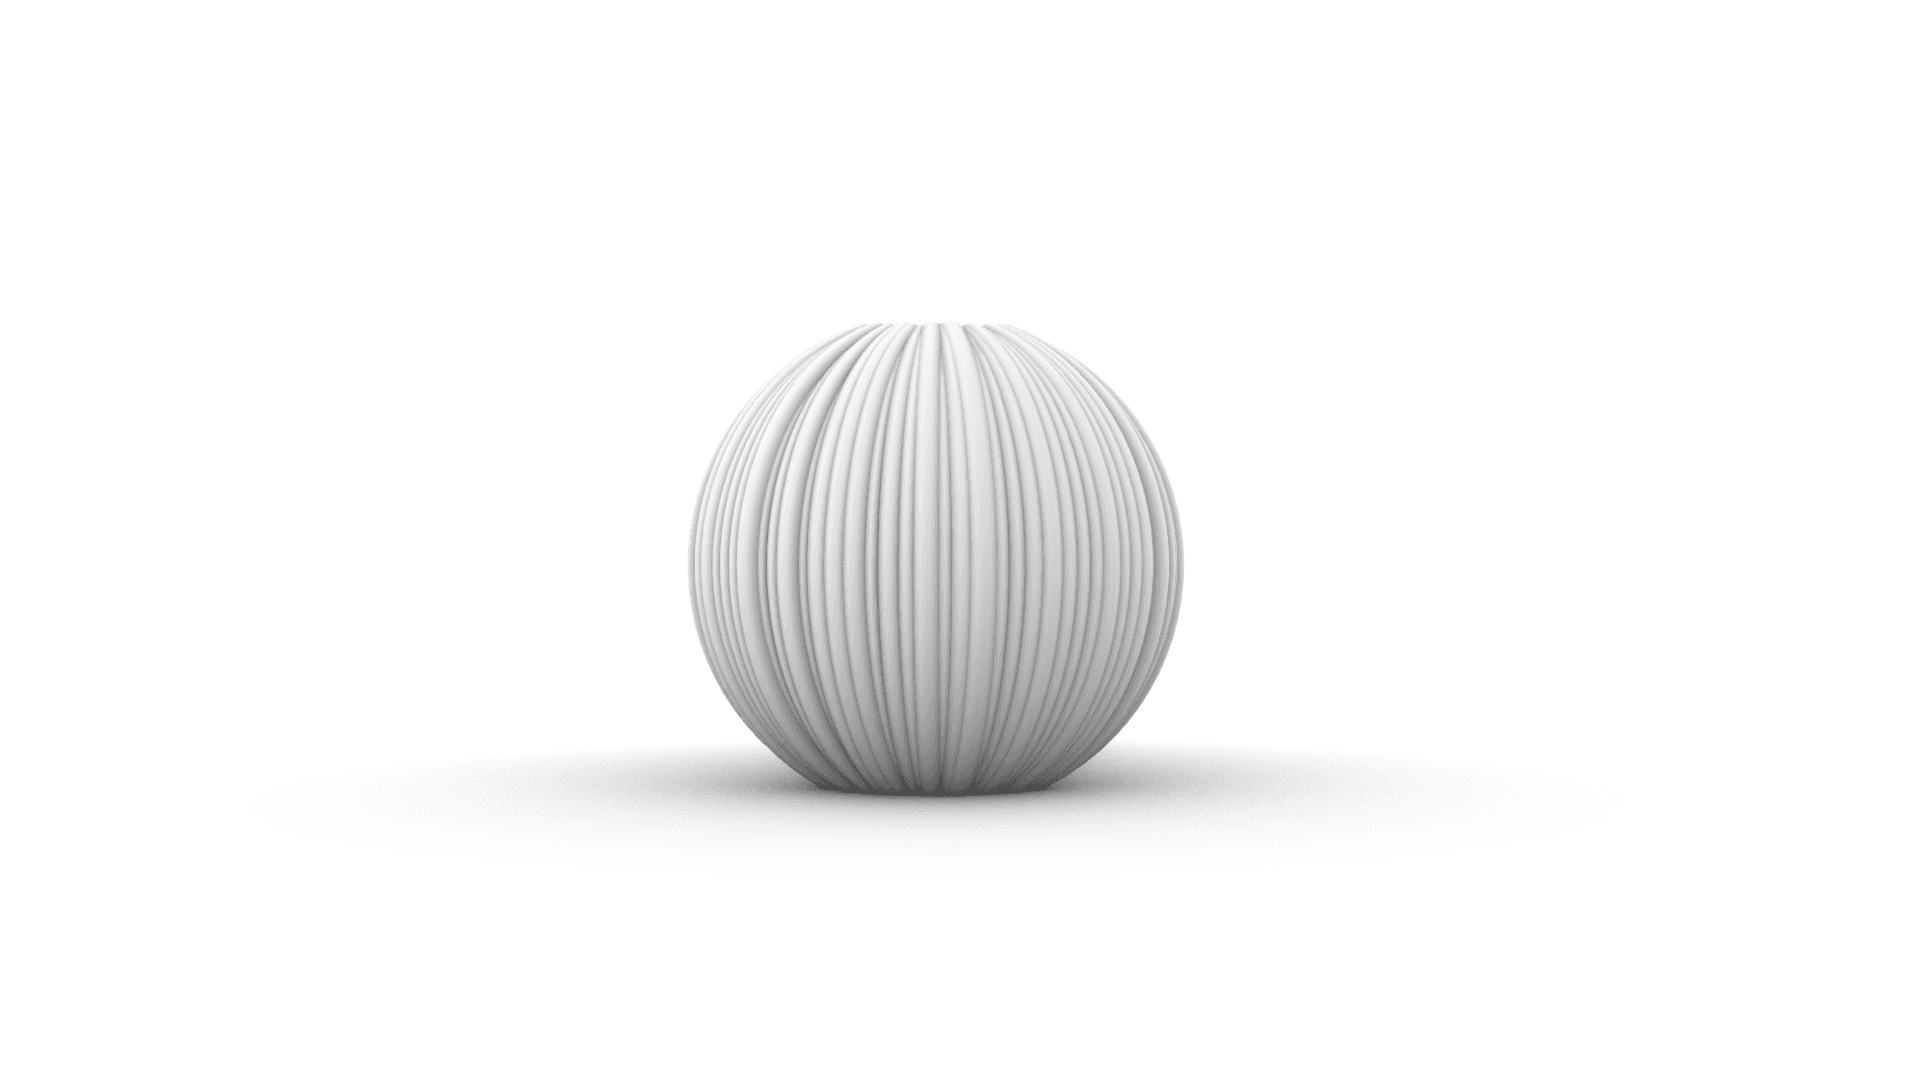
How It's Made
1. Modelling in Rhino
After coming up with an idea for a design, it needs to be modelled in CAD. These artistic designs involve many complex shapes and surfaces which requires visual programming. Grasshopper integrates into Rhino and can create generative algorithms to output 3D geometries. It is used to achieve these textures that are so mesmerizing to look at. The base of these designs is a more mechanical component that integrates into the shade and is hidden from view. SolidWorks is used to model these parts that don't require complex textures.
2. Slice using PrusaSlicer
Once the model is finalized, it gets exported to .stl and opened in the PrusaSlicer. The Prusa Mini is the 3D printer used to manufacture these designs. The slicer takes a solid geometry and splits or slices it into layers for the printer to produce one at a time. Many printing parameters can be modified in the slicer to improve the final product. Parameters include layer height, perimeter shells, infill density etc... After slicing, a .gcode file is exported which is just a set of instructions for the 3D printer to follow. This includes a series of coordinates that outputs the desired shape.

3. Print
The next step is to provide the Prusa Mini with the .gcode file. This is an FDM 3D printer that extrudes a filament of plastic through a heated nozzle. This melts the plastic as the nozzle head moves, creating lines and layers of plastic. Printing often takes 15 hours or more and things can go wrong along the way. Common issues include thin strings of filament attaching to the part as well as flat edges curling up from the printbed. This is why testing was done with different filaments, colours, and print parameters to achieve the best possible result.
4. Assemble
The last step is to put the light, base, and shade all together. Enjoy!
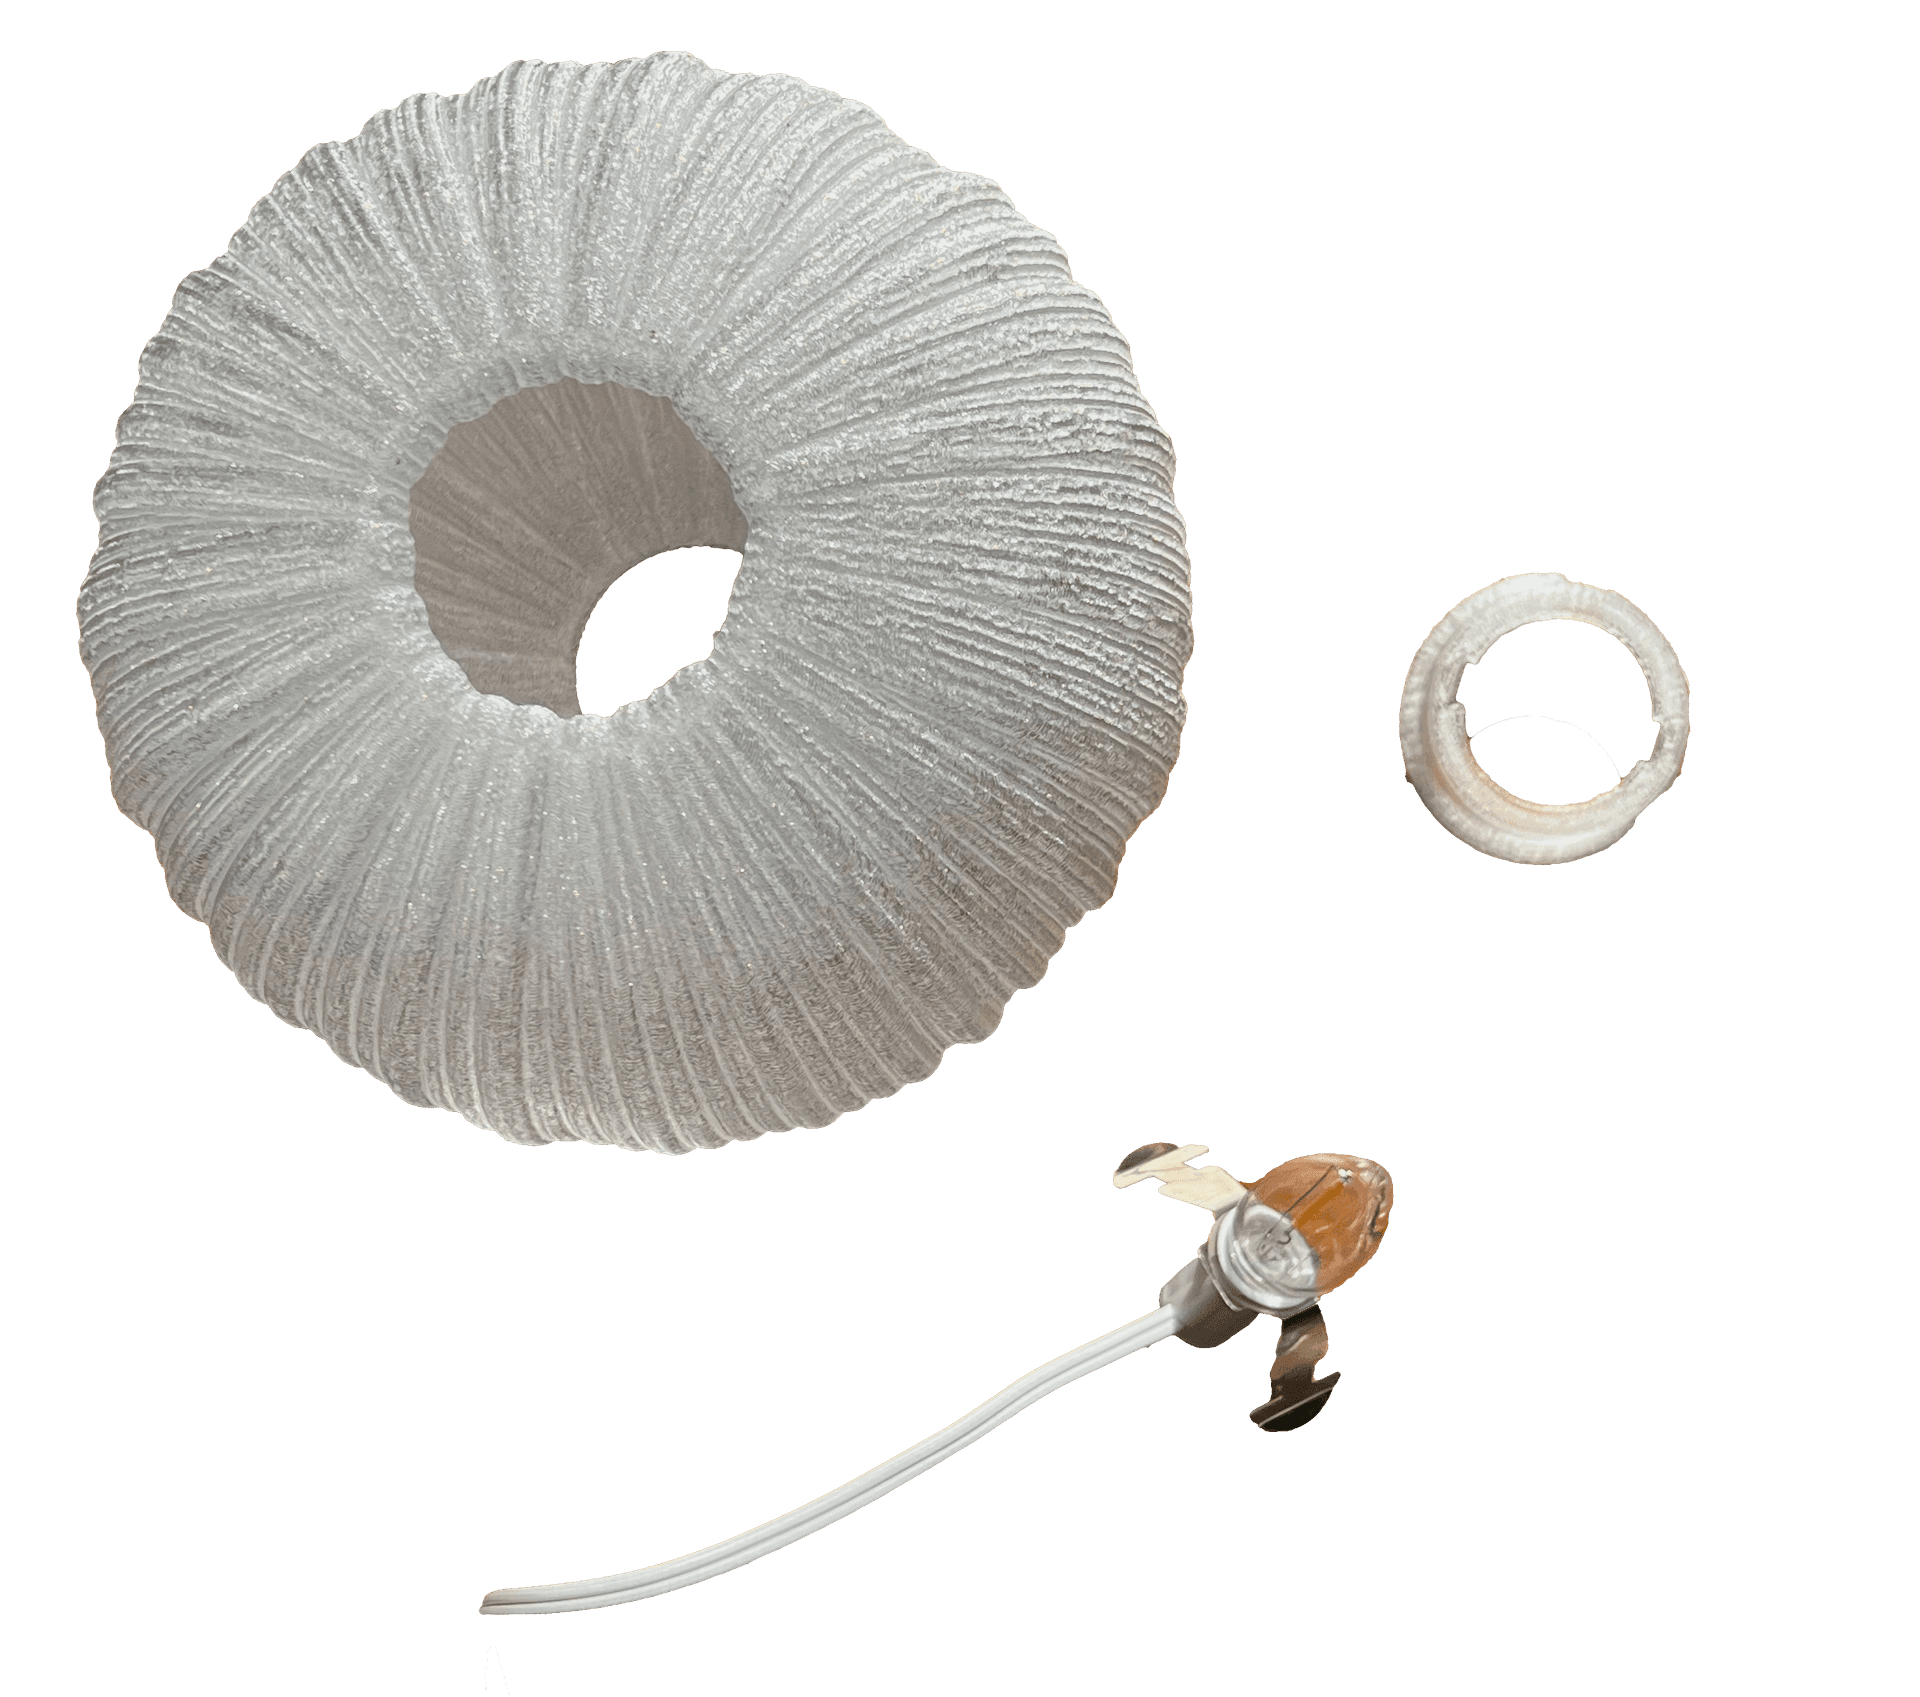
Simple 3 Part Kit
Takeaways
This hobby has allowed me to dive into more artistic design that is rarely seen while studying mechanical engineering. It is such a fun process to try different crazy ideas and iterate to get the aesthetic you want, while always prioritizing manufacturability. I learned so much about 3D printing by testing and perfecting some of these complex textures that any mechanical parts seem so simple in hindsight. In the future, I want to open an online shop to sell some of these designs, which could maybe fund my own 3D print farm!